Onboarding to Azure Arc
In the first post here I briefly talked about Azure Arc, I also mentioned how I would use this technology to accomplish the task of onboarding a new customer.
In this post we are going to look at that very task, how can you go about onboarding a customer endpoints onto Azure Arc? There are numerous ways to achieve this task and to list a few:
- Onboarding script
- Azure Migrate 1
- Machines connected to Windows Admin Center
- Using a custom task sequence with Configuration Manager
| ⚠️ Before you start ⚠️ |
|---|
You will need to make sure you have the following in place:
- HTTPS access to Azure services
- List of required URLs can be found here
- Administrator account on the machine(s) your are onboarding
- Connectivity method
- If you wish to use a public endpoint, no further configuration is required
- If you wish to use a private endpoint then an Azure Arc Private link scope is required
- An Azure Active Directory Service Principal
- This will be created later in this post
- A resource group to store your Arc-Enabled Machines
- This will also be created later in this post
For this post, we are going to use the onboarding script and onboarding the VM’s into a single resource group. We are going to apply a couple of tags at the resource group level and then inherit those on subsequent Arc-enabled machines.
You can create a resource group via the Azure CLI
az group create –name arc_man_colo –location uksouth –tags datacentre=“Man-Colo-01” city=“Manchester” costcode=“HYBC-CC-9456”
Resource group created, with several tags to start, let’s look at what endpoints can be onboarded to which there is a range of endpoint operating systems that are supported. Azure Arc’s mission of reducing the admin overhead of managing hybrid workloads via a single management plane means that it includes quite a few. For this blog post, we will look at onboarding a Ubuntu & Windows device, whilst there may be some variation depending on the client. More information can be found here about supported operating systems.
We have two machines ready to onboard;
cb-ubuntu (22.04 LTS ‘Jammy’) cb-win2k19 (Windows Server 2019 1809)
To begin, let’s create a service principal used for onboarding with a limited RBAC scope. Grab the resource group ID for the resource group where the Arc-Enabled machines will be placed via CLI.
resourceGrpId=$(az group show --name arc_man_colo --query id --output tsv)
With the resource group ID in hand the service principal can be assigned the appropriate RBAC role, the RBAC role we are going to use is Azure Connected Machine Onboarding2. The scope of this role allows the following:
- Read any Azure Arc machines
- Write an Azure Arc machines
- Read any Azure Arc privateLinkScopes
- Get guest configuration assignment
To create the service principal and assign the Azure Connected Machine Onboarding role using the CLI.
az ad sp create-for-rbac --name arc_man_colo --role "Azure Connected Machine Onboarding" --scopes $resourceGrpID
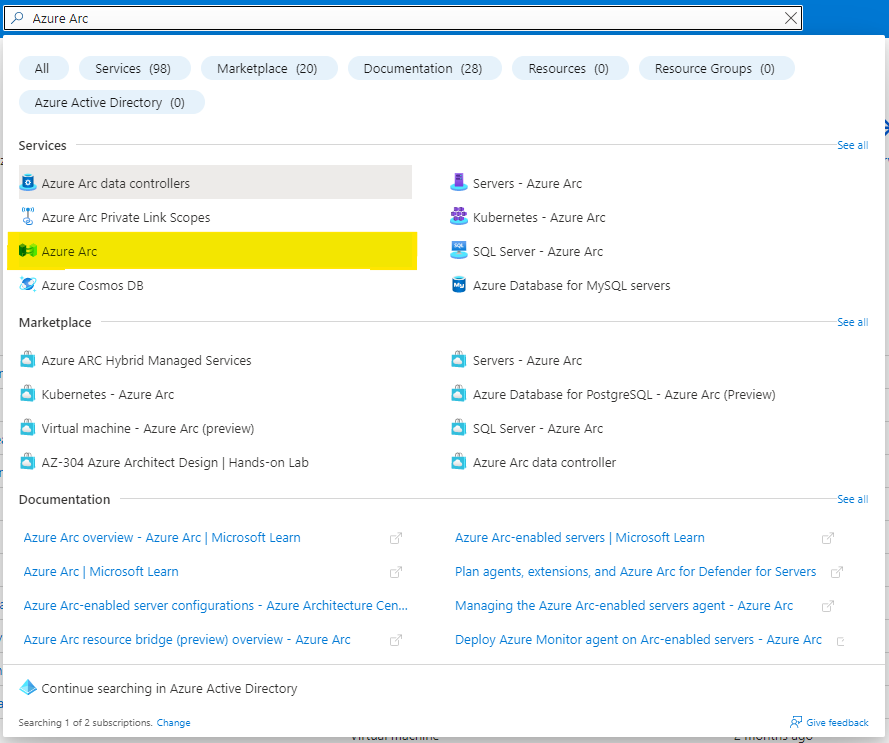
Once the command has been completed it will have generated the service principal and output the appId, and password along with a few other items. The values of interest are the appId and password, save these as they will be required shortly. With this information, head to the Azure portal and access the Azure Arc section of Azure.
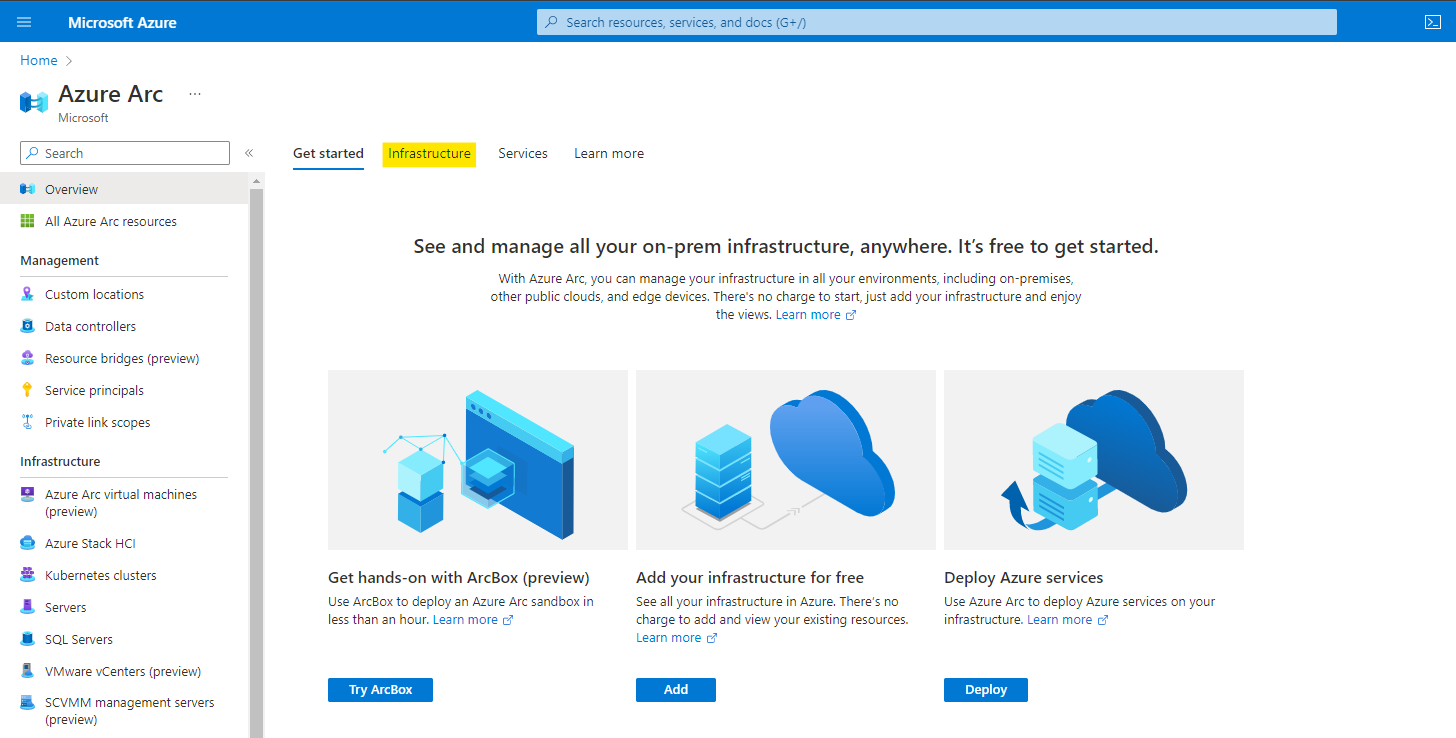
You will arrive at the Overview page, from here select the Infrastructure tab from the central part of the screen.
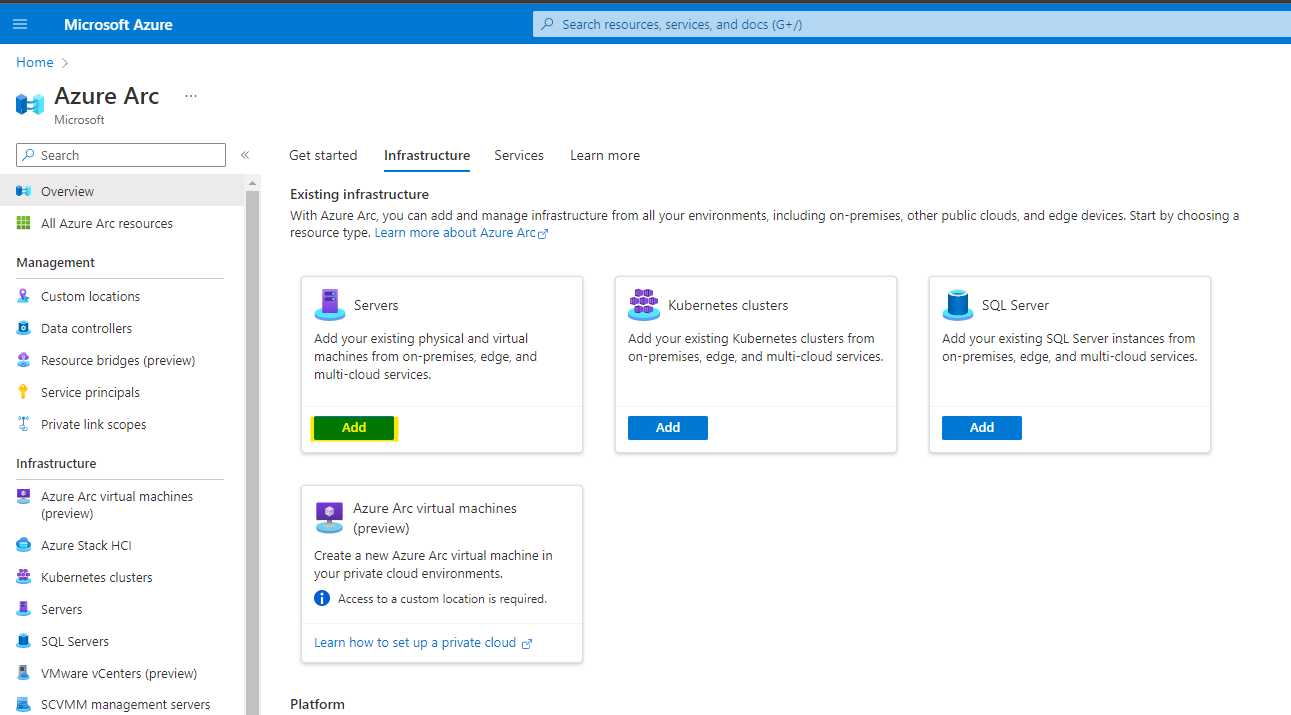
For this guide, we are adding endpoints via an onboarding script but note you can onboard platforms like VMware vSphere, System Center and Azure Stack HCI. To continue select the Add button within the Servers box.
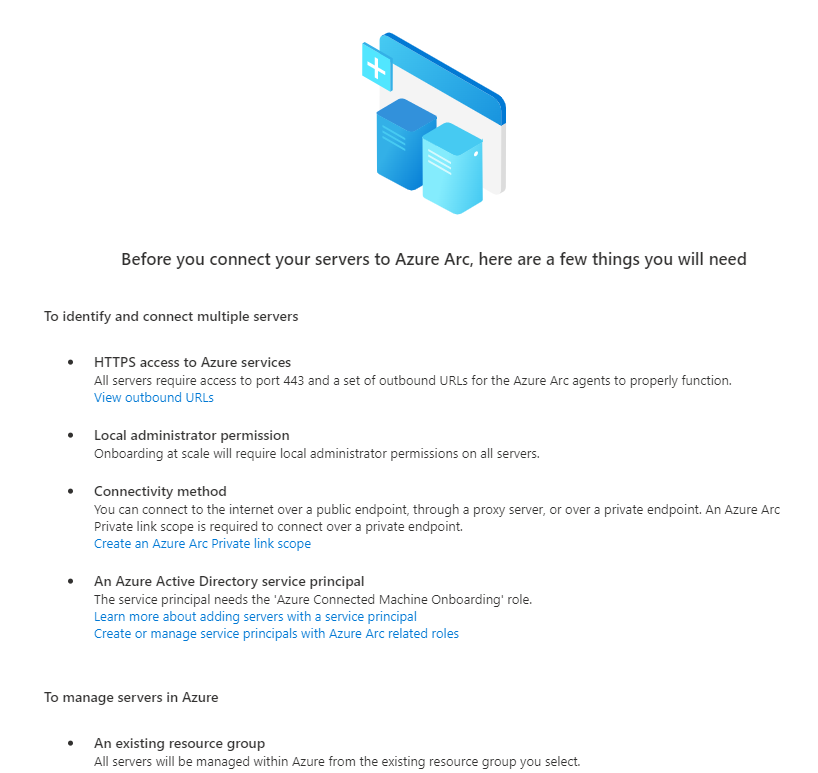
You will be presented with 3 options, as we have created a service principal, plan to onboard multiple servers; the most preferred option would be to select the Generate script option under Add multiple servers. The next screen will list the prerequisites as detailed at the beginning of this post, if you have yet to put them in place you will need to now, before proceeding.
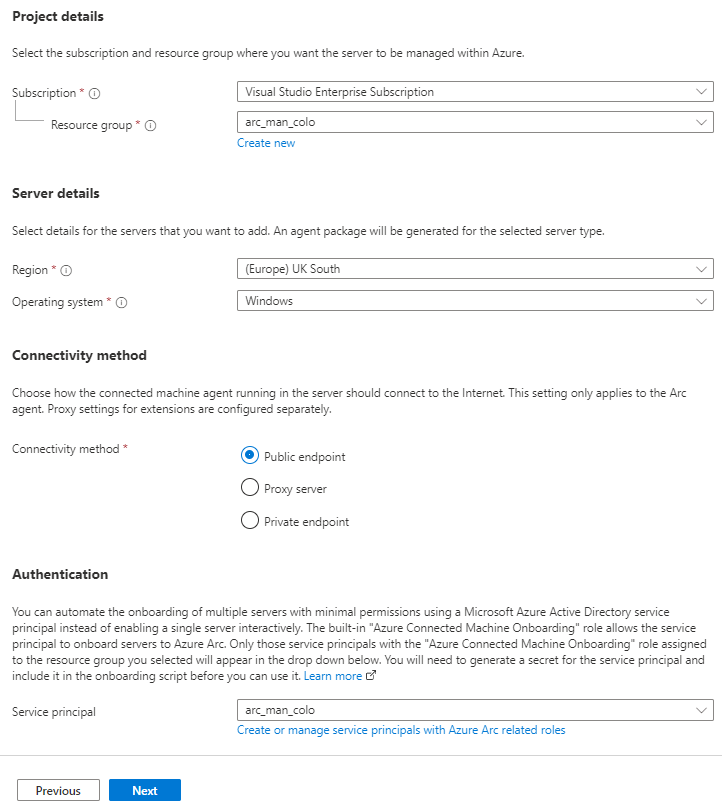
If already in place or completed then proceed. Passing the prerequisites will take you to the Resource details tab, here the boxes presented will seem familiar if you know your way around the Azure portal. Complete and proceed past this page by completing; Subscription, Resource Group, Region, Operating System, Connectivity method and finally selecting the service principal we created under the Authentication section.
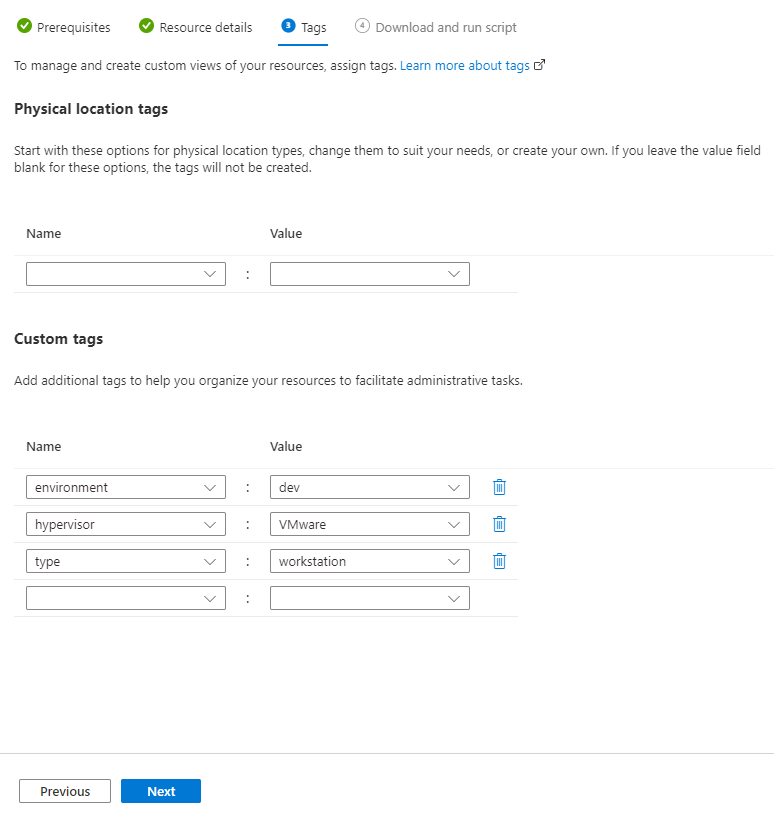
The next page will be Tags, Tags are an important part of any well-deployed Azure environment and ultimately are a key valued pair in which anything can be stored. We have set several tags on the resource group and we will be using those in a later post so for now we will add a few additional tags that will be relevant to the endpoints we are onboarding.
Once the settings on the Tags page have been reviewed and set (if applicable), then the final page (Download and run script) is where the script to onboard Windows endpoints will be provided. There are several options available in terms of deployment method however this example we will use the Basic script option. Copy or download the PowerShell script but before running; you will need to change $servicePrincipalClientId and $servicePrincipalSecret. The details from the service principal creation from earlier in this post are the details that are needed to be put in place of the default values here.

Run through the same screens again but select Linux for the Operating System to generate the bash script. As with the PowerShell script you will need to replace servicePrincipalClientId and servicePrincipalSecret.
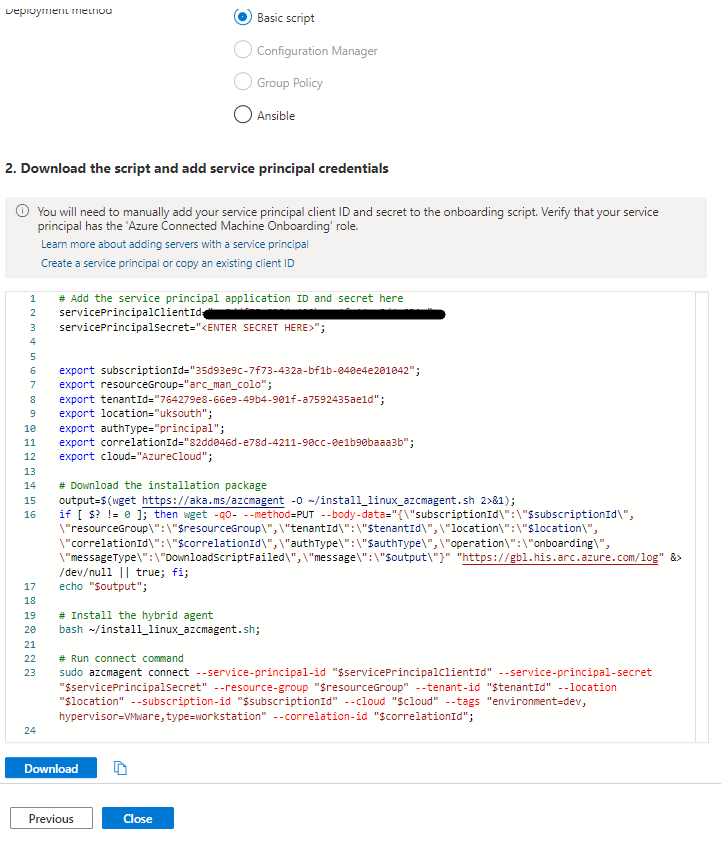
Eagle-eyed readers will see that the tags set during the script creation steps will be present in the Run connect command section of the PowerShell/Bash script.
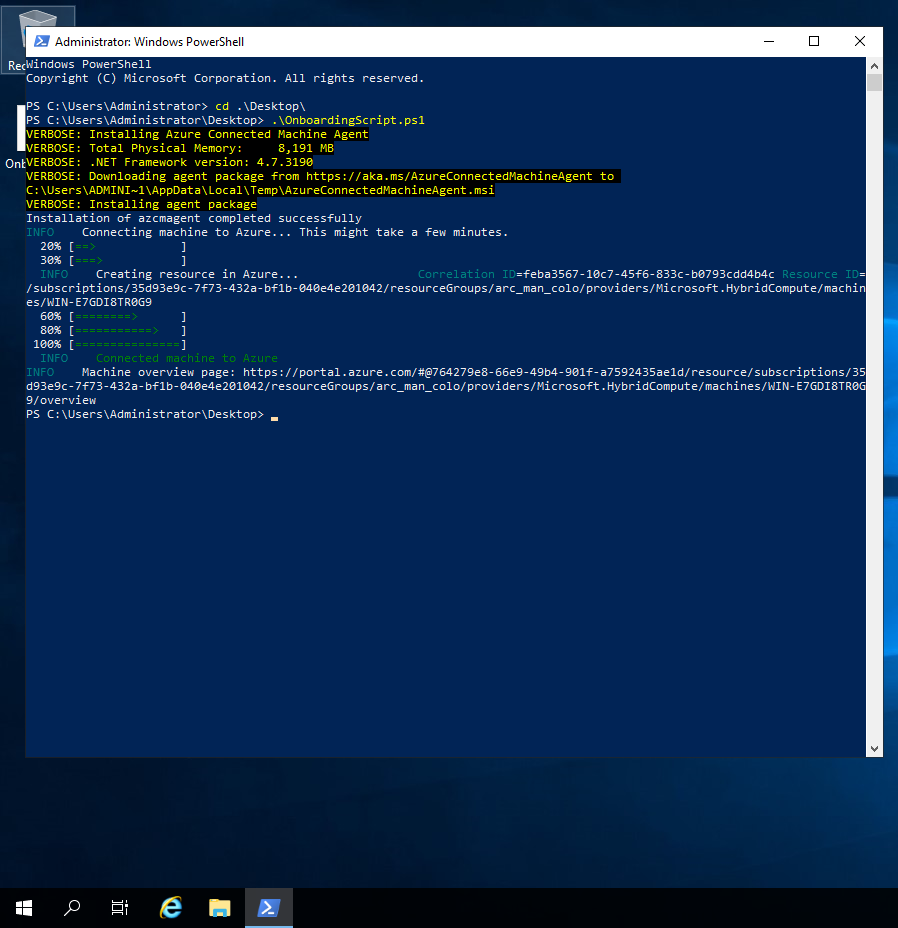
Time to copy/deploy the scripts to the retrospective platforms and execute them, for the post I will execute the scripts interactively so the output can be displayed. Executing the PowerShell script on Windows will provide a similar output to the one below.
Bash script output on Ubuntu.
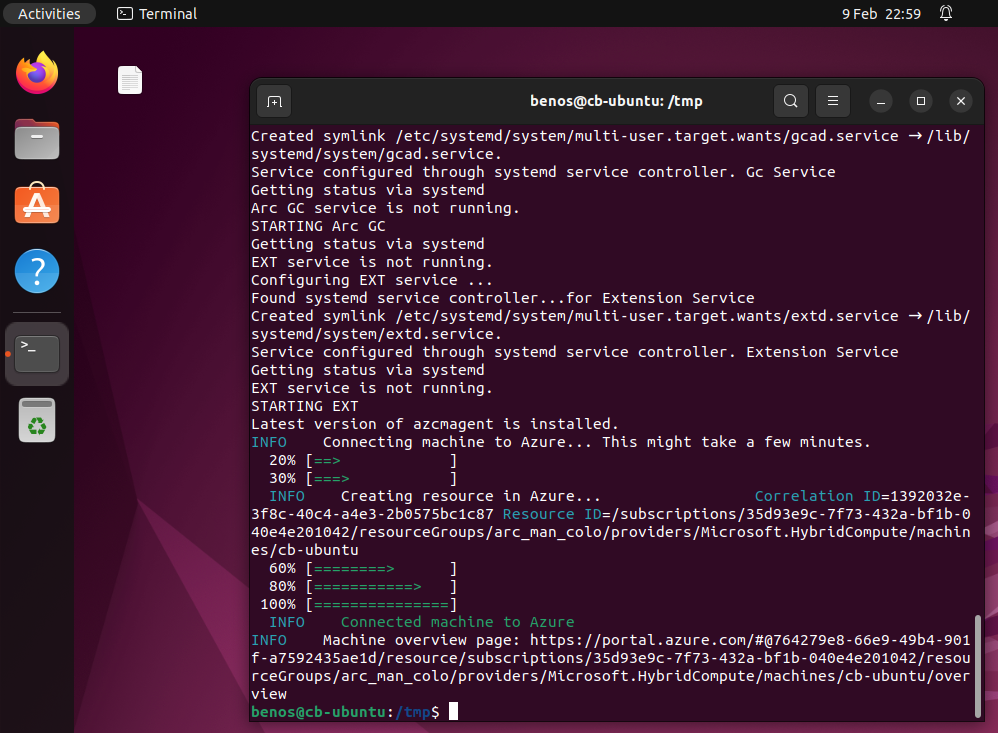
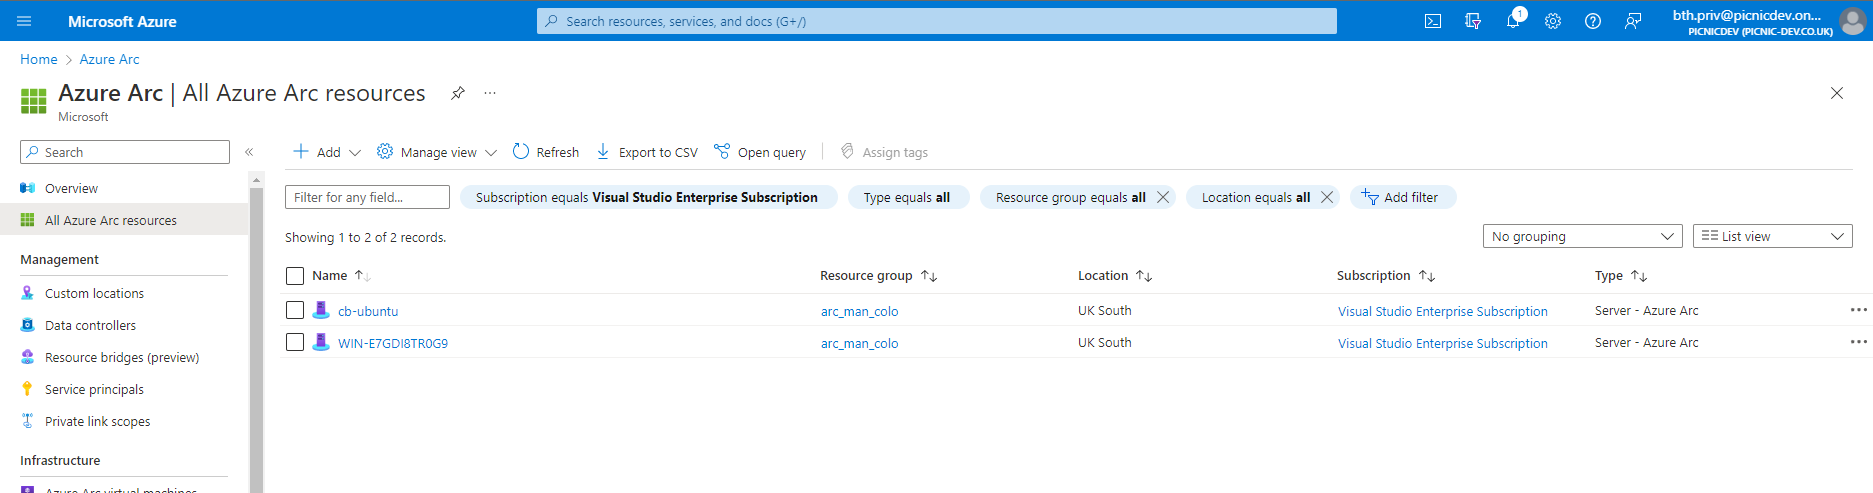
Both scripts, when completed will echo the direct URL to the Azure Arc-Enabled machine in the Azure portal. Without following those individual links to then see the machines in Azure Arc, get to the Azure Arc overview page, use the menu blade to the left and select All Azure Arc resources.
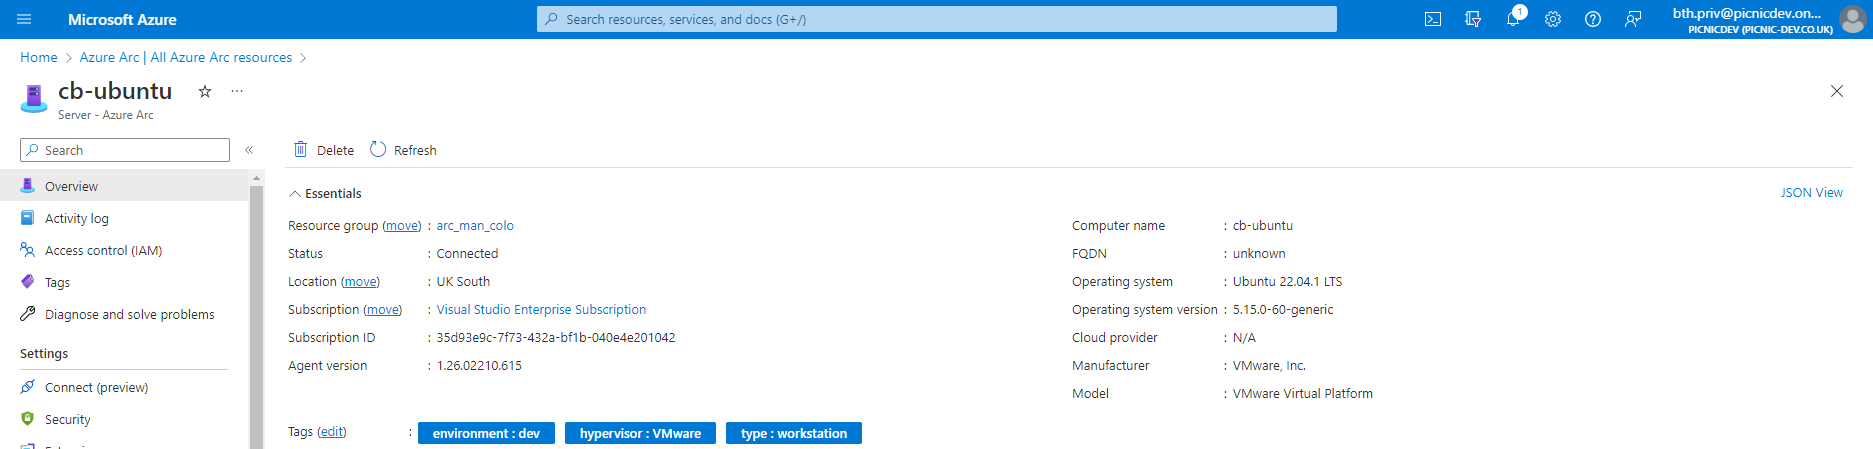
Selecting any of the Azure Arc-Enabled machines will display basic information the agent has collected and the tags we set during the deployment script.
This concludes this post on ‘Onboarding to Azure Arc’, watch out for future posts where we will go deeper into maximising what can be achieved with Arc-Enabled machines. During these future posts, we will also look at how this technology could be utilized to speed up onboarding new clients within an MSP setting.